Yarn Wall Display
Over time I’ve learned something very important about myself: if I don’t see something regularly, I’m going to forget that I have it. This is a great case for simplicity… only have the essentials instead of clutter that I’ll forget that I have. But there has been one area where I’ve always had a soft spot, and that spot is my yarn collection.
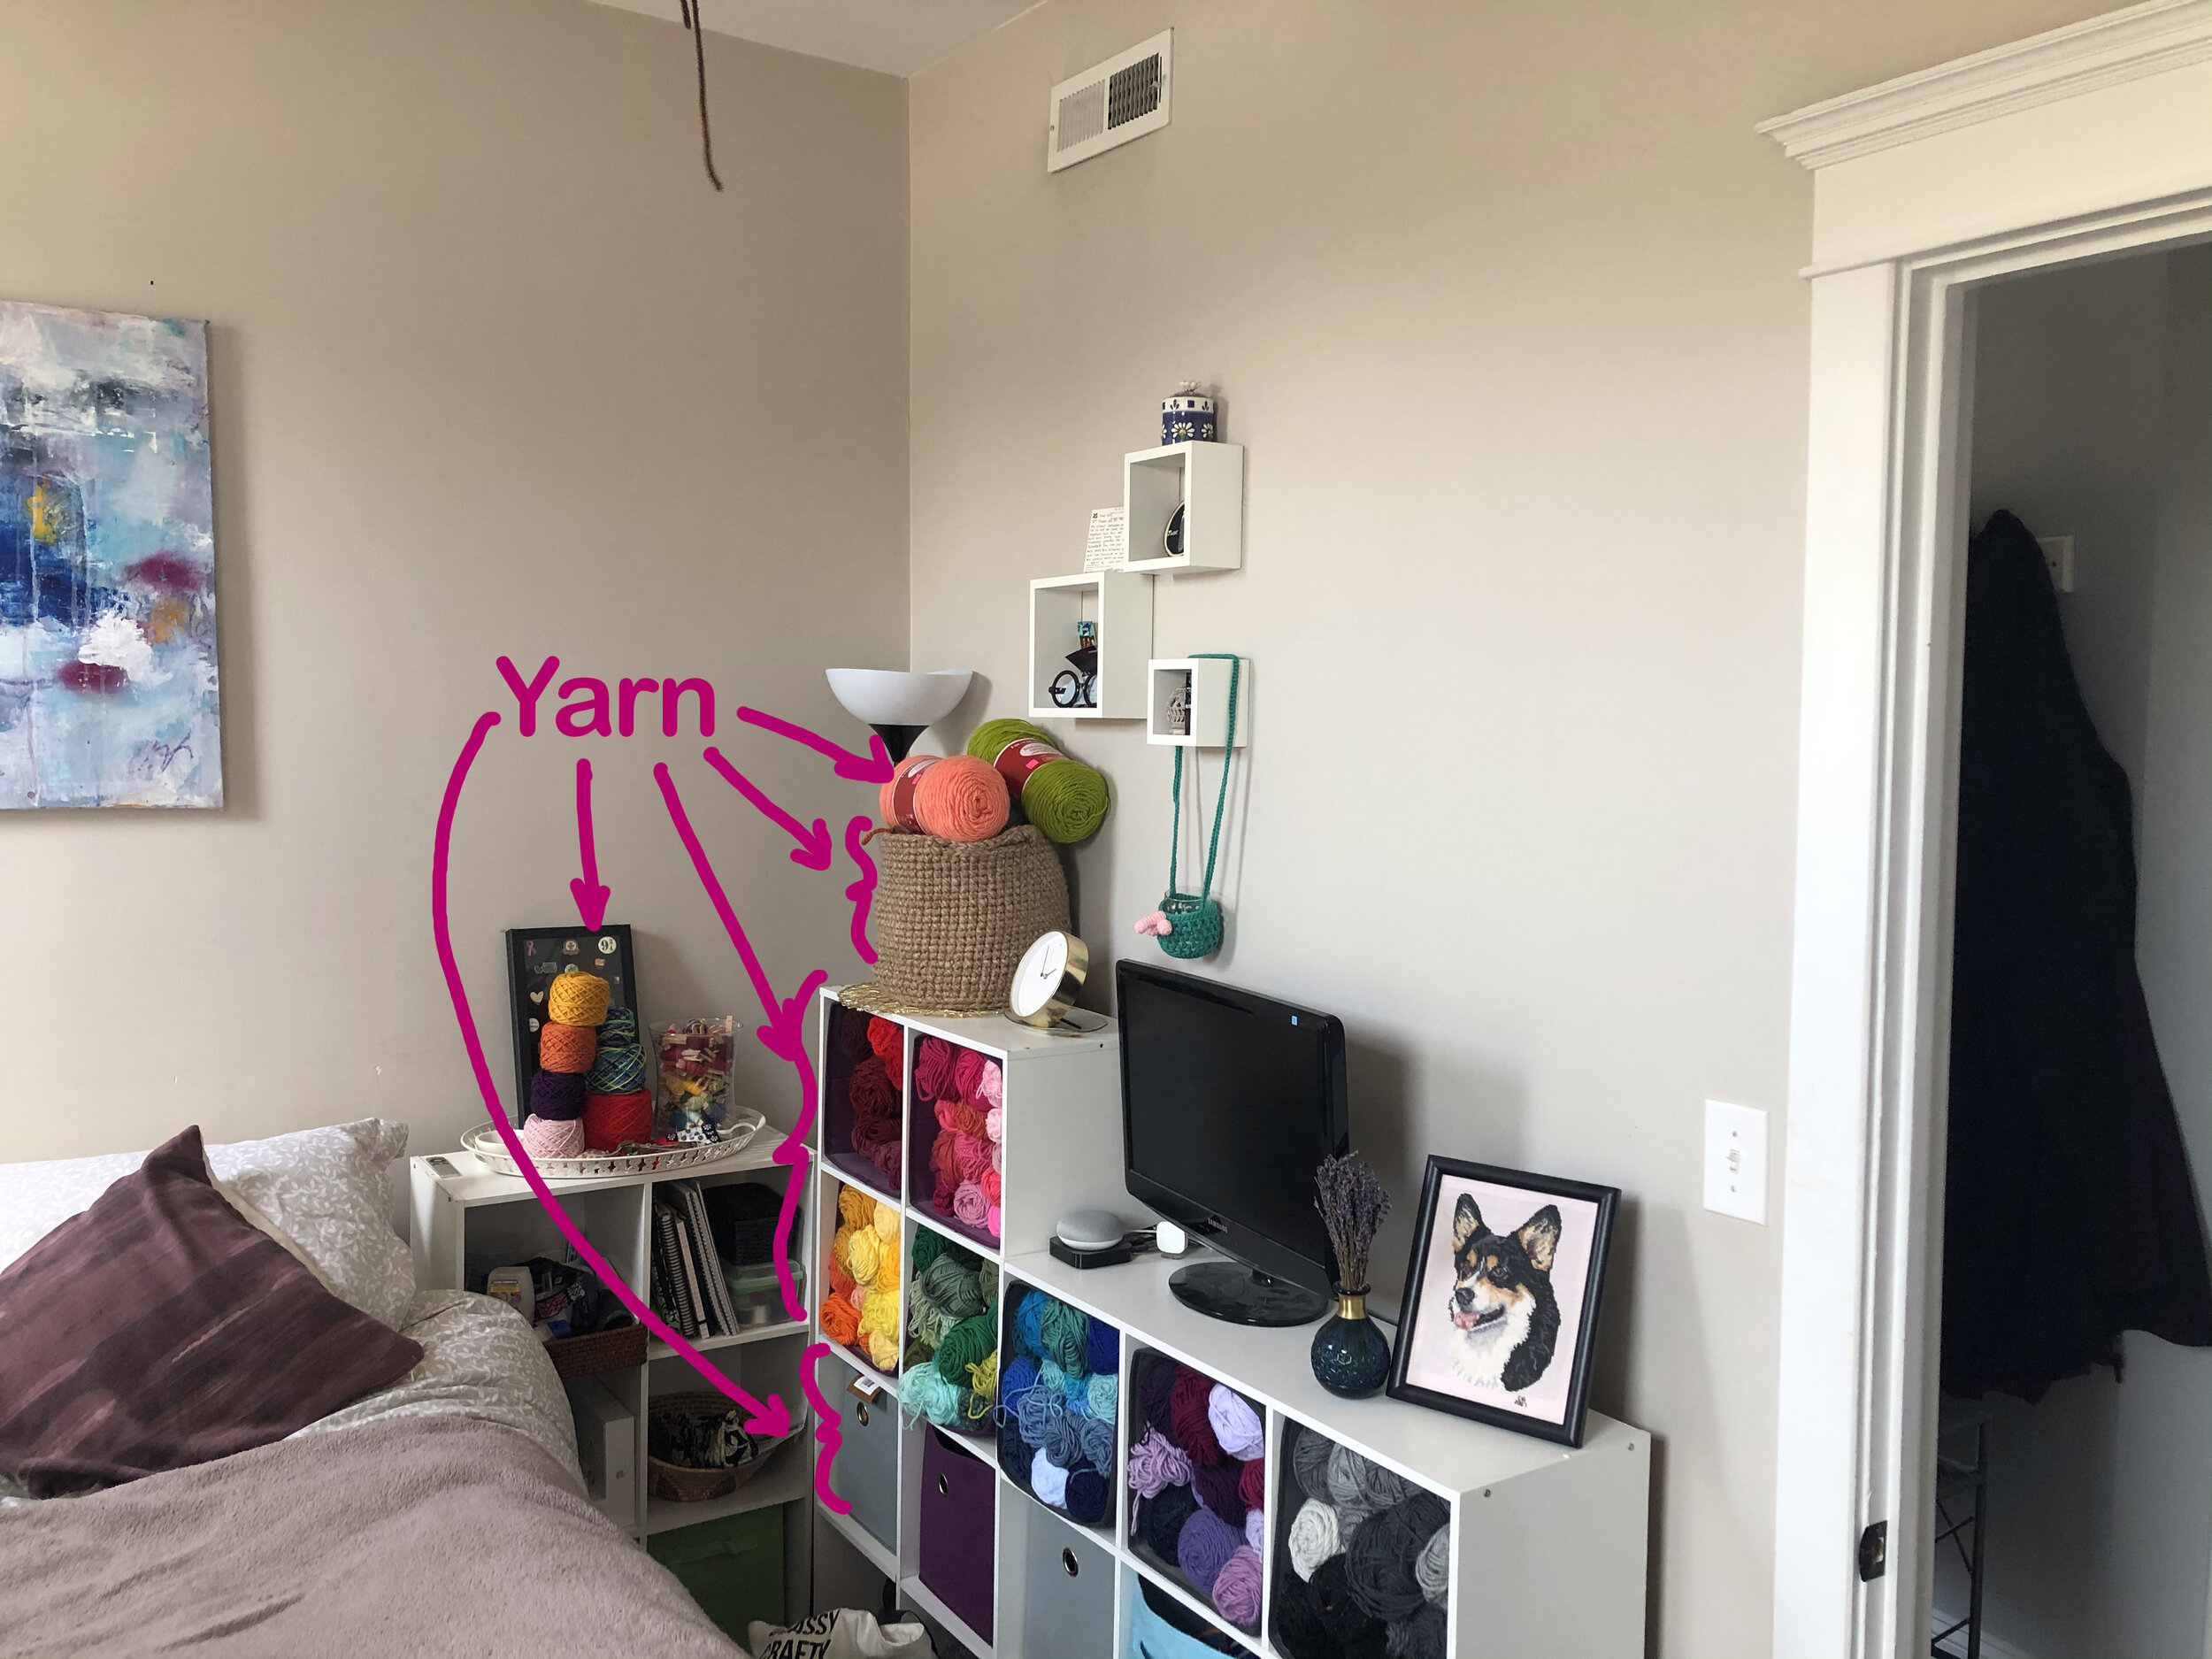
For years I’ve been trying to figure out the perfect way of displaying my yarn. Most recently I had been using fabric cubes stored in a modular storage system. This allowed for my yarn to be stored by color, making them easily accessible and nice to look at. However, as my yarn collection grew, so did my need for more space which I simply did not have. This also resulted in yarn being stored into different spots where I could no longer see everything I owned. This caused the inevitable problem of buying multiple colors, which led to buying more yarn and not having enough space. Quite the vicious yarn cycle! The result was a plethora of yarn in numerous places:
In a cozy condo, this was no longer working. I had to find a way to give myself more space while making a new home for my yarn.
I have been toying with the idea of a yarn wall for a while and hadn’t ready to take the plunge. But with COVID-19 keeping me housebound and increasing my need for new projects, there was no better time than the present.
I began the process by winding all of my skeins of yarn so that they were in similarly-shaped cakes that would be easy to hang. This was no small feat! It took me probably around 25 hours to finish this part alone. It wasn’t exactly a hard task, but it was a little tedious and certainly hurt my arm muscles for a few days! I used this yarn winder which was inexpensive, simplistic and got the job done beautifully.
In order to build the display, I utilized peg boards. These were another simple and inexpensive option which they sold at Home Depot for $9 a pop. I also purchased a stud finder (since I did not want to be drilling into studs), dry wall anchor screws and washers at Home Depot and ordered these hooks from Amazon (I wound up needing to order 4 boxes). In order for the hooks to properly go through the peg board and hang, there needs to be space between the peg board and the wall. The washers were placed on the screws between the peg board and the wall to allow for this space. Alternatively you can use spacers, but I found I didn't need a whole lot of space for the hooks and washers worked perfectly.
I started by clearing off the wall and moving out the taller storage cubes. Hanging the boards took a little bit of work but I was super satisfied at the end of the first night. I quickly realized after hanging two peg boards that I had room for a third (and I found out later I would absolutely need 3 to hold all of my yarn!).
Once the boards were up, it was time to hang the yarn! My obvious preference was in rainbow order and then I wound up putting the neutral colors on the top.
180 hooks later and my board was complete.
It took some time, but I am absolutely enamored with the result.
One thing is for sure… I am no longer allowed to buy any more yarn!! 🧶 😄
Which color grouping is your favorite? Let me know in the comments!


